
Stylish Punjabi Fonts . . .
All of the 304 fonts in 49 families that you can download from this site are created by me (Paul Alan Grosse) and this is the only place that I put them. You can find older versions of them to download from other people's websites but occasionally, I update some of them or make modifications that the font files on these other sites will not have. This site is the only place that you can guarantee has the most up-to-date files. Also, when I make a new font, it can be months if not years before they appear on other sites. For example, GHP Full is one of the most popular of my fonts in film publicity, including the films themselves and yet there are plenty of Punjabi font download sites that do not have it at all, let alone the most recent version of it.
Visit the fonts home page for a complete list of font families and to find out which are the latest additions.
you can also compare font families on the font comparison page where you can choose a page that fits your screen and select any of the families, 2, 4 or 6 at a time.
Representing literally thousands of hours of font design work with the resulting fonts used in over a hundred Punjabi films and on the covers of well over a hundred books as well in as magazines, newspapers, jewellery and even as tattoos, my fonts are available for you to download from these pages and use for free, regardless of whether you want to use it for doing your homework or making a film.
Recently produced fonts.
Click on the image to go to that font family's page2022 Dhobi Ghat 2021 Mansa Bhojanshala Ek Jot Thikriwala Patiala Circuit Small Dilli Khanna Rocket Khicho Parda Pixel Serif Blob Circuit Muskan 2020 Plotter Pachami
Recently modified fonts.
Click on the image to go to that font family's pageISO Date Font Notes 20210804 Modhera Added Latin-numbers-to-Gurmukhi-numbers ASCII code to get Gurmukhi numbers in ASCII as easy user option. 20210804 Dwarka Added Latin-numbers-to-Gurmukhi-numbers ASCII code to get Gurmukhi numbers in ASCII as easy user option. 20210804 Gubara Improved ASCII support for Adhaks;
Added Latin-numbers-to-Gurmukhi-numbers ASCII code to get Gurmukhi numbers in ASCII as easy user option.20210803 Julaf Added Latin-numbers-to-Gurmukhi-numbers ASCII code to get Gurmukhi numbers in ASCII as easy user option. 20210803 Jashan Added Latin-numbers-to-Gurmukhi-numbers ASCII code to get Gurmukhi numbers in ASCII as easy user option. 20210802 MFF DIN 1451 A Added Latin-numbers-to-Gurmukhi-numbers ASCII code to get Gurmukhi numbers in ASCII as easy user option. 20210801 MFF Adami Improved ASCII support for Adhaks;
Added Latin numbers to Gurmukhi numbers ASCII code to get Gurmukhi numbers in ASCII as easy user option.20210731 GHP Full Improved ASCII support for Adhaks and 'left-blocked' bindis;
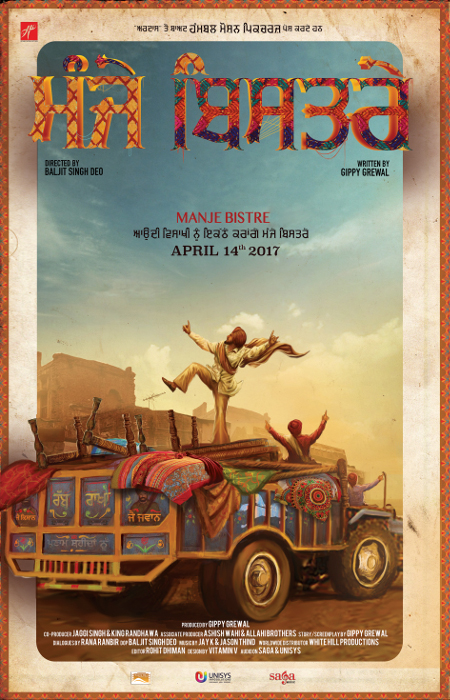
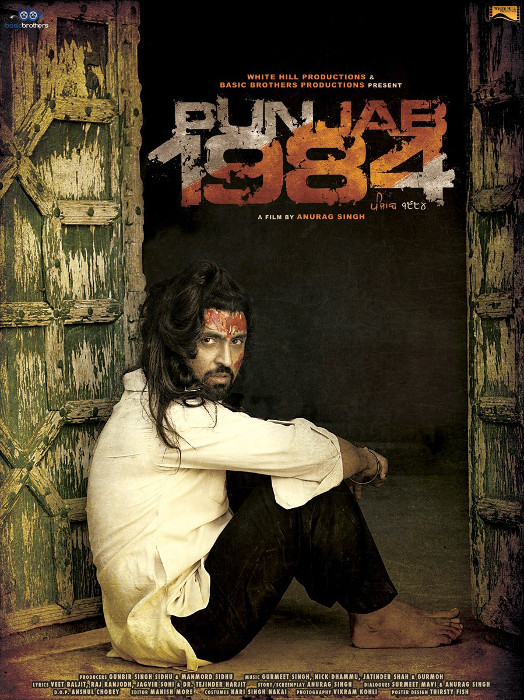
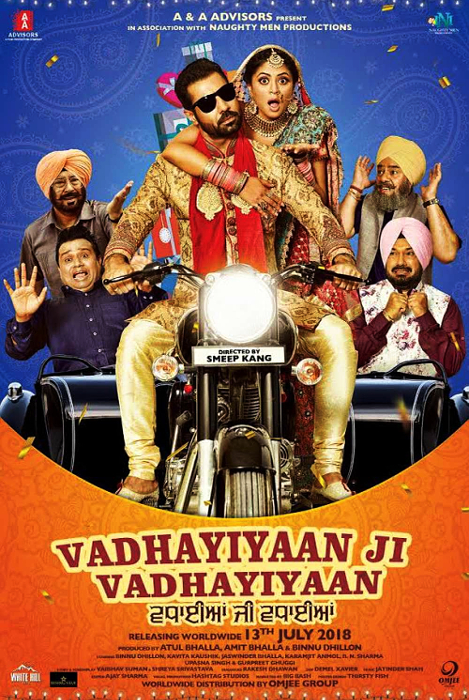
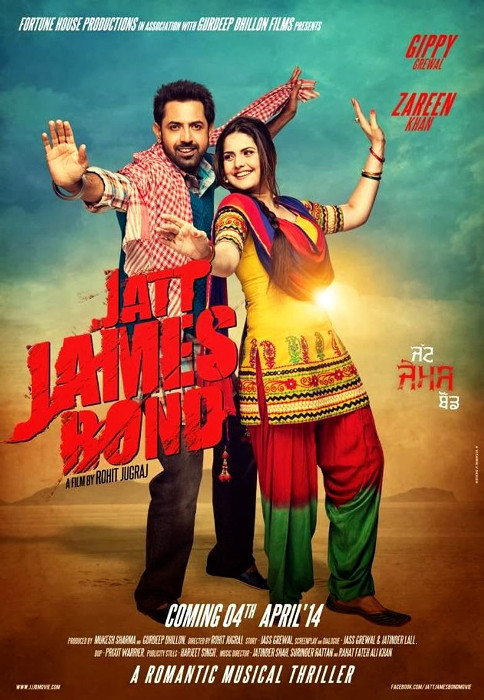
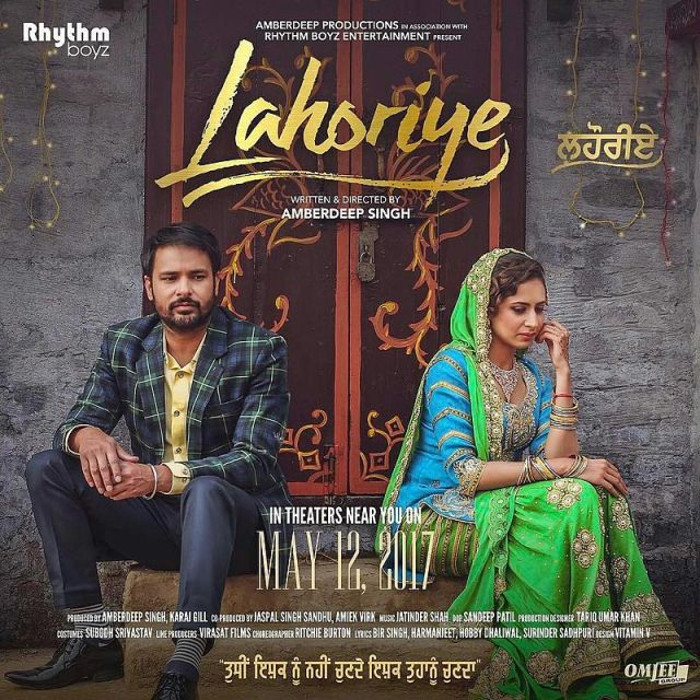
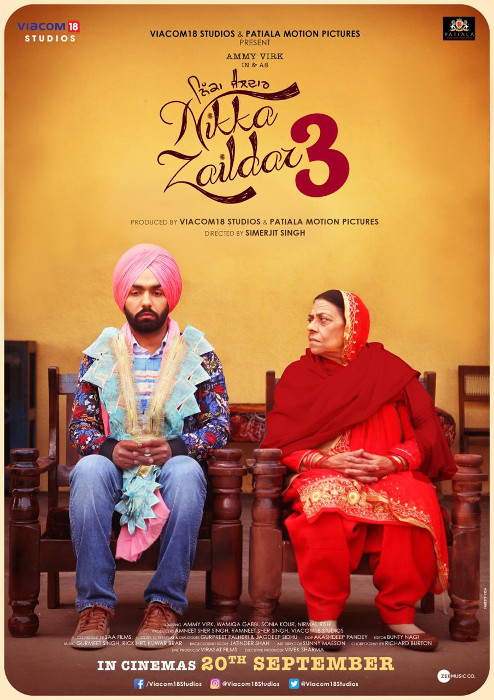
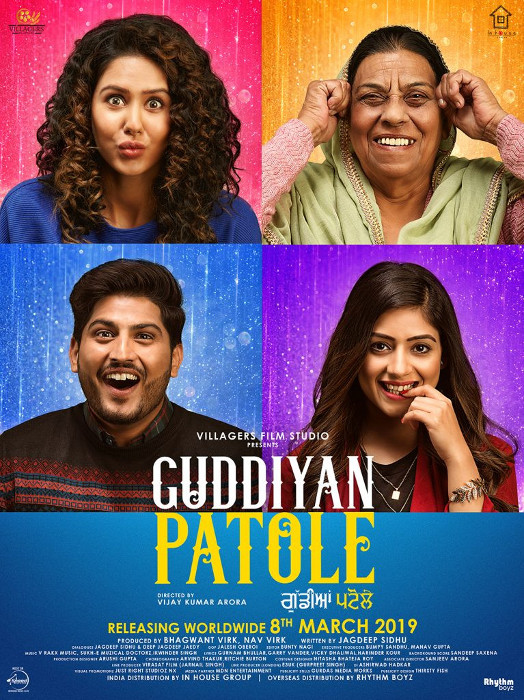
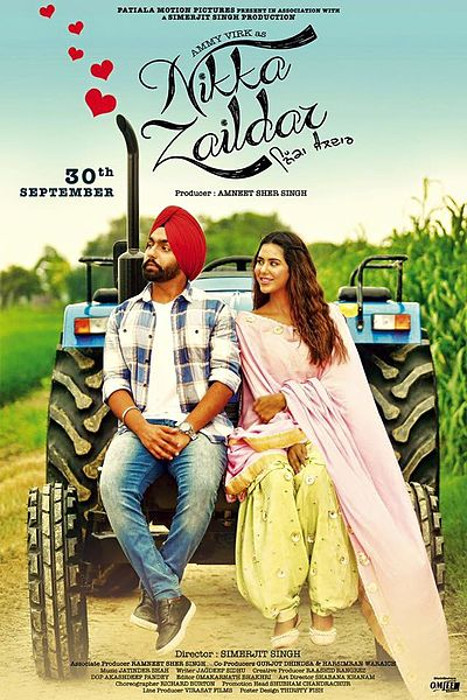
Added Latin numbers to Gurmukhi numbers ASCII code to get Gurmukhi numbers in ASCII as easy user option.My fonts have been used in many films and/or their publicity material - see the 'Fonts In Use'/'Fonts In Films' page - these films including seven of the 20 highest grossing Punjabi films and ten in the next 20 making a total of 17 in the top 40 - film positions from Wikipaedia: List of highest-grossing Punjabi films page retrieved on 31/01/2021.
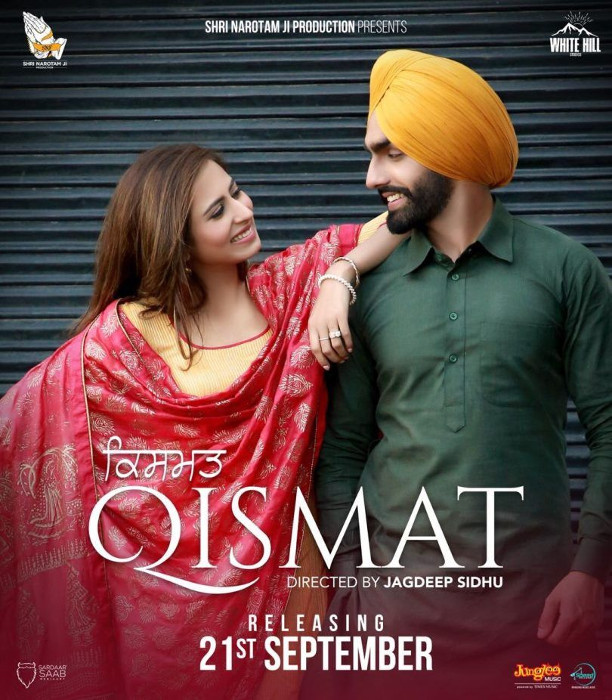
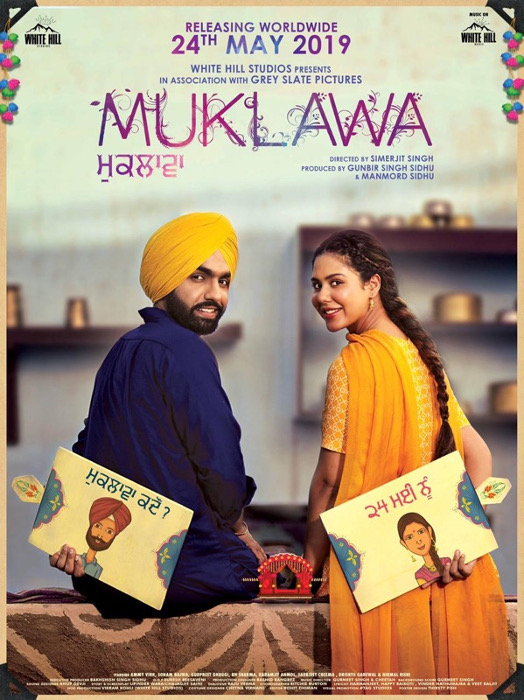
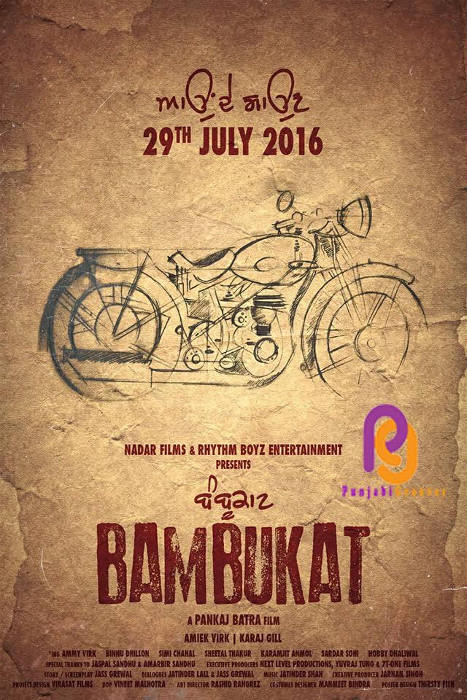
Top 20 Manje Bistre 2017 GHP Full Qismat 2018 Raajaa Muklawa 2019 GHP Full Ambarsariya 2016 GHW Dukandar Bambukat 2016 GHW Dukandar Punjab 1984 2014 GHW Dukandar Vadhayiyaan Ji Vadhayiyaan 2018 GHP Full Next 20 Jatt James Bond 2014 GHP Full Manje Bistre 2 2019 GHP Full
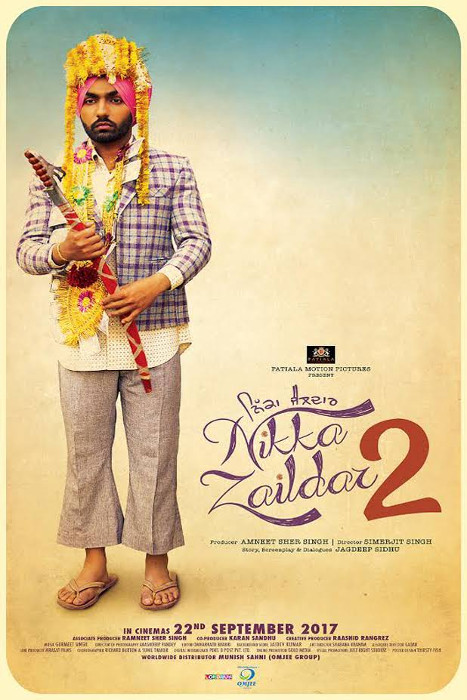
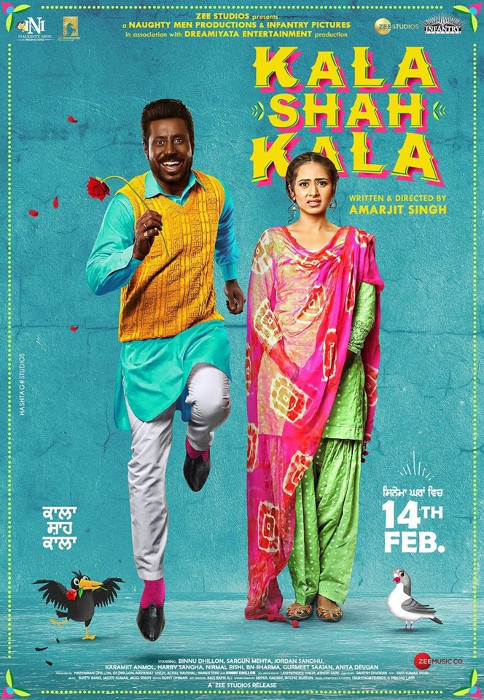
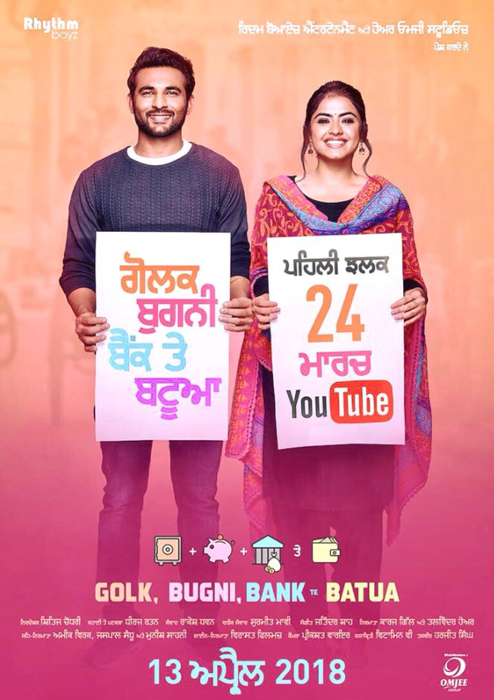
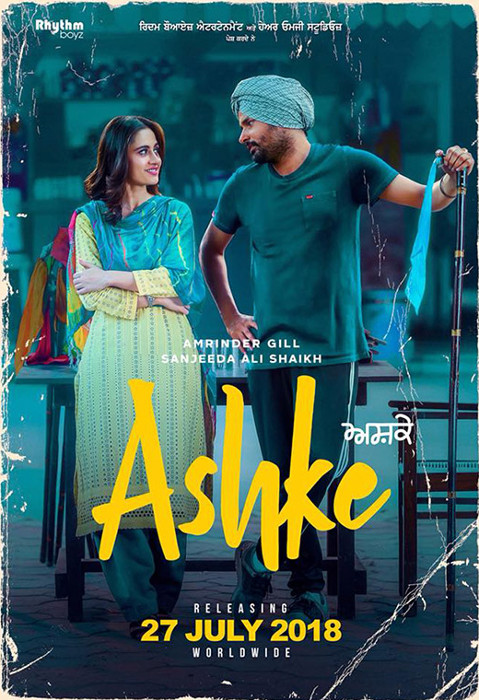
MFF DIN 1451Nikka Zaildar 2 2017 GHW Dukandar Lahoriye 2017 MFF DIN 1451 Kala Shah Kala 2019 Gurvetica Golak Bugne Bank Te Batua 2019 Gurvetica Ashke 2018 MFF Karmic Sanj Nikka Zaildar 3 2019 GHW Dukandar Guddiyan Patole 2019 GHP Full Nikka Zaildar 2016 GHW Dukandar


Copyright ©2007-2023 Paul Alan Grosse.